Our cats are family, and we want to ensure they have everything they need. A great way to make sure our cats are getting proper rest, activity, and mental stimulation is by making homemade furniture and toys. If you love crafting and treating your cat to something special, you’ll enjoy these 5 DIY projects for cats.
Contents
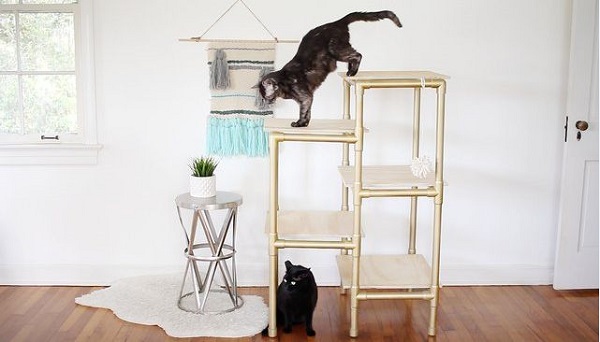
Cat Tree Made Out of PVC Piping
Cats love climbing to high places where they can observe their kingdom. To protect your furniture and to give them a dedicated space to climb and claw, consider making a PVC cat tree. You can save hundreds of dollars by constructing your own.
Plus, a DIY tree is fully customizable! Is your cat fairly active or pretty lazy? You can cater the cat tree to include all of your cat’s favorite things. From tunnels to hammocks, the possibilities are endless. To make a cat tree, you simply need PVC pipe, a variety of fittings, and PVC primer and cement. This DIY cat tree will be a fun adventure for your cat.
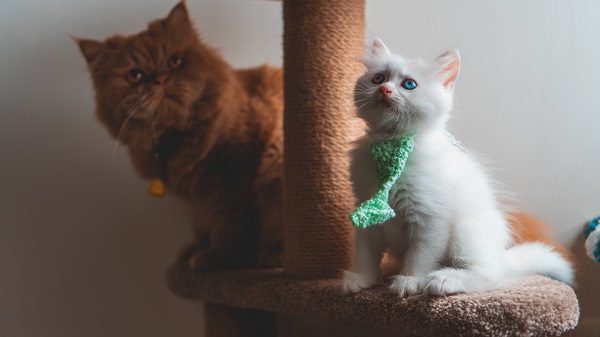
DIY Cat Scratching Post
There’s nothing quite as frustrating as coming home from a long day at work to find that your beautiful leather couches have been scratched so badly that they look like they starred in a horror film.
Instead of getting frustrated with your cats (since they’re only doing what comes naturally), take all of that energy and make a cat scratching post. Here’s everything you need to know about making a homemade scratching post.
Materials
- 3” PVC Pipe (any length that suits your needs)
- 3” PVC Cap
- 50’ 3/8” Rope
- 1’ Diameter round piece of wood
- 5” Square block of wood
- Felt
- Glue gun
- Measuring tape
- Jigsaw or scroll saw
- Drill
Steps for PVC Scratching Post
- Lay the wood round onto the felt then use the hot glue gun to secure the felt to the bottom of the wood round.
- Take your block of wood and cut it with the jigsaw (or scroll saw) into a circle with a diameter that is slightly smaller than 3” (this piece will need to fit snuggly – but not too tightly – inside the 3” PVC pipe). This woodblock will hold the PVC pipe in place on the felted wood round.
- Using the drill, screw the small wood round from Step 2 onto the large wood round that’s covered in felt with two screws. You can screw this supporting piece in the middle of the felted piece or you can place it off-center.
- Pre-drill holes about 1/2” from the bottom of the PVC pipe. (You’ll want two holes on opposite sides of the pipe.)
- Place the pipe over the small wood circle then screw two screws into the PVC pipe, using the holes from Step 4.
- Add the PVC cap to the top of the post.
- Wrap the rope around the post, gluing the rope in place with the hot glue gun every few inches. Do not wrap the rope around the PVC cap. Cut off any extra rope and finish gluing in place.
- You’re finished! Allow your cat to explore and get used to the new scratching post.
Small PVC Hammock for Kittens
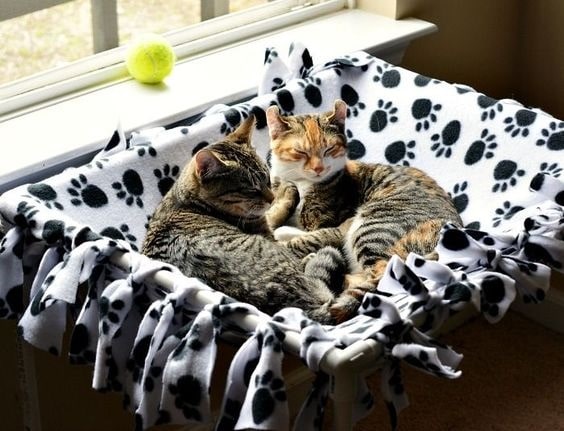
Our little kittens deserve a comfy place to relax, sleep, and hideout, just like our adult cats. Show them a little extra love by making a small cat hammock from PVC piping.
This hammock is only 10” tall, 10.5” wide, and 16.5” long, making it the perfect size for at-home use or shelter use. Plus, the design is lightweight, so if kitties happen to pull it over, no one will be hurt.
Materials
½” PVC pipe
(4) ½” PVC side elbows
(4) ½” PVC caps
Steps for Cat Hammock
- Cut your PVC pipe into (2) 14” pieces and (6) 8” pieces.
- Start making a rectangle by slipping the four side elbows onto the ends of the 14” pieces. Make sure the top outlet on the elbow points upward and the other side outlets point towards what will be the center of the hammock.
- Finish making the rectangle started in Step 2 by connecting two of the 8” lengths of PVC to the open side outlets from Step 2.
- Create legs for the cat hammock by inserting the remaining four 8” pieces into the open outlets from Step 2.
- Add caps to the ends of the legs. Flip the hammock over. Now, you just need a cover.
- For a cover, you can use recycled t-shirts or jeans. Or, you can purchase fabric from the store. Whichever fabric you choose to use, make sure you have two pieces that each measure out to be 12” wide and 16” long. Sew the 16” sides together. Slide the fabric over the hammock frame. Now, you’re finished!
DIY Cat Food Puzzle Box
Cats are smart little boogers. Give your fur-babies a little extra challenge with a food puzzle box. This simple toy will encourage and strengthen hunting skills.
Construct a homemade cat food puzzle box by taking a plain wood box (no lid) and placing variously sized PVC pipes inside. The PVC pipes can range in diameter from ½”, 1”, and 1 ½”.
The lengths should be relatively the same (about 3” but you can also base it off the height of your box). Arrange the pipes in the box how you like them then glue them in place with E6000.
Once the glue is dry, place dry cat food or treats at the bottom of the pipes and slip the crumpled paper in some of the pipes to cover the food. Your cat will love the challenge of this DIY PVC puzzle feeder.
Homemade Cat Tunnel
Playtime isn’t just for dogs – cats love to explore, play, and be physically active (when they choose to, of course). Tunnels are a great way for indoor-only cats to stay active and feel as if they’re exploring the outdoors.
When they’re not feeling adventurous, tunnels offer cats a secure, safe place to nap. However your cat chooses to enjoy a tunnel, it’s a must-have piece of furniture for cat parents. Let’s look at how to build a homemade cat tunnel using PVC pipe and fittings.
Materials
- 1” PVC Pipe
- (8) 1” PVC side elbow
- (4) 1” PVC 4-way tee
- (1) Heavy-duty cardboard tube for concrete
- Remnant carpet (4’ x 10’)
- PVC cutting tool
- Rubber mallet
- Tape measure
- Utility knife
- Handsaw
- Carpet knife
- Liquid nails
Steps for Cat Tunnel
- Cut the PVC pipe into the following lengths: (8) 9” pieces and (12) 12” pieces.
- Take two of the 9” pieces and join them together with one of the 4-way tees. Make sure the open sockets point upwards and towards the center. Repeat this step two times.
- Place side elbows onto the ends of the pieces made in Step 2. Make sure the open sockets point upwards and towards the center.
- Insert three of the 12” pieces of PVC into the center open sockets from Steps 2-3. This will create the bottom frame of the tunnel holder.
- Repeat Steps 2-4. This will create the top frame of the tunnel holder.
- Insert the remaining six 12” PVC pieces into the open sockets of the fittings on the bottom frame.
- Fit the top frame onto the 12” pieces in Step 6. Use the mallet to join the pieces together.
- Cut the cardboard tube so that it is 24” in length. Place it uncovered into the PVC tunnel holder or cover it with carpet using the liquid nails then place it in the tunnel holder.
- Your tunnel is complete. Watch your cats and kittens enjoy their new tunnel – made with your own hands!
DIY Projects for Cats of All Ages
With so many PVC projects for cats to choose from, you and your fur-baby will never be bored. Deter bad behavior with a scratching post. Encourage exploration with a cat tree or tunnel.
Ensure ultimate relaxation with a hammock. All of this can be possible with PVC piping – an inexpensive, durable supply with so many uses outside of plumbing, including DIY cat projects! We wish you happy crafting with your kitty!
Thank you Mark for sharing this insightful piece.
Mark Ligon is the Marketing Manager at PVC Fittings Online, a leading supplier of PVC pipe, fittings, valves, plumbing supply, and more. Mark enjoys working on projects around his home and providing advice to individuals looking to complete DIY projects of their own.